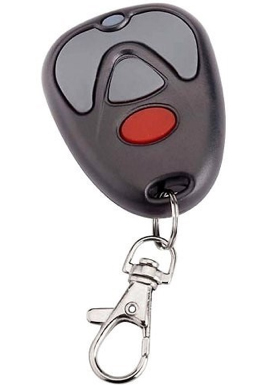
FIND YOUR REMOTE
Find your remote and compatable JMA Remote to copy
Frequency
Type of code
- Fixed. The code emitted by the remote control, is always the same. There is no encryption and once the remote control is duplicated, the copy works directly in the receiver.
- Rolling. The code emitted by the remote control, changes with each pulse. A copy of the remote control should be made, that way generating the same brand and model but with a different serial number, that will be necessary for registry in the receiver. There are specific instructions for each receiver of either how to register the copy, remotely or directly manipulating the receiver.
Buttons
Auto-Programmable The remote control can be registered in the receiver without the need of the original remote control, as long as radio communication is activated and the memory is not full.
PROCESS:
- In front of the receiver keep the JMA remote control pressed during 10 seconds until the red LED goes off (after 4 seconds) and it turns to green (at 10 seconds).
- Once the LED is green, release the button and wait for the LED to definitely go off. During the process, the green LED will flash once or several times depending on the code type until finally going off.
If the process does not work, test the standard method using the original remote control or gaining access directly from the receiver.
Copy
No copy
FOR: MC GARCIA® MC GARCIA
- F 433,92
- C ROLLING CODE
- B 4
- AP NO
- M-BT Biometric / BT Slim / M-NOVA PRO / M-BT Advance

HOW TO SYNCHRONISE MC GARCIA ROLLING CODE REMOTE CONTROLS
MC GARCIA remote control synchronisation can only be performed directly on the receiver itself.
Synchronising the remote control directly on the receiver
1. Press the record button (PCB) for one second and release. The red LED (LD1) on the board will light up.
2. Press the button on the remote control to record the desired channel.
3. The LED (LD1) on the board will flash, awaiting confirmation.
4. If you only want one button, confirm it.
5. If you want two buttons, confirm with the second of your choice.
6. If you want four buttons, repeat steps 1 to 5 with the remaining buttons.
